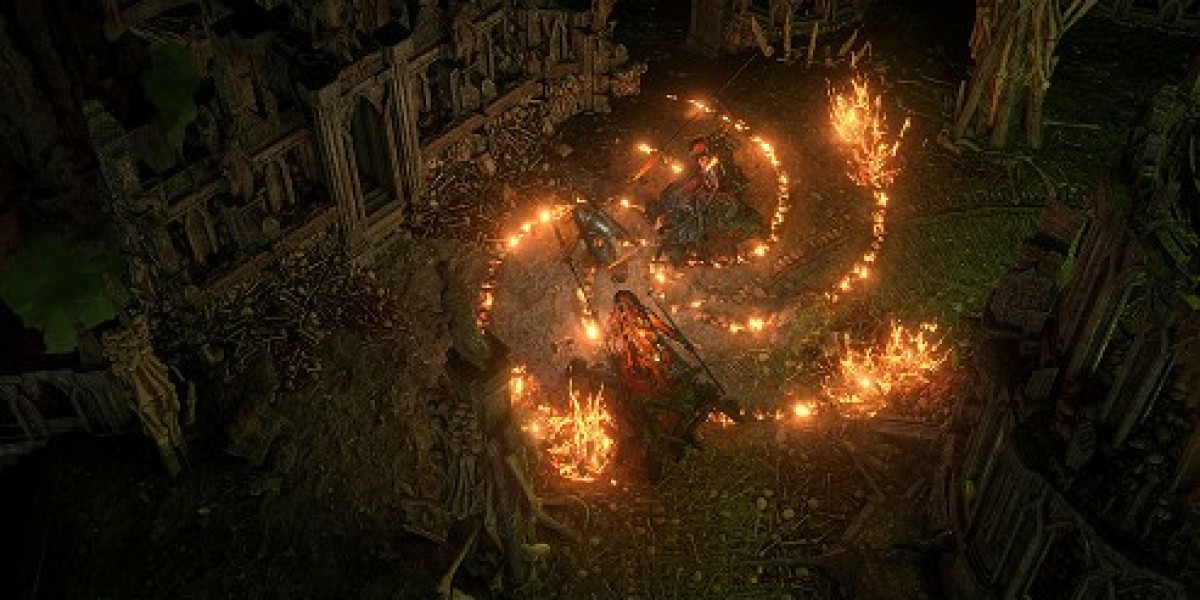

There's a particular moment in a well-rolled Breach when the whole map seems to disappear beneath monsters, effects, and loot labels. That chaos is exactly what makes Hiveblood farming so attractive. Rather than hoping for one lucky unique, the method turns monster density into repeatable income through Catalysts, Splinters, crafting materials, and raw POE 2 Currency. Claims of 100 Divines per hour should be treated as a best-case result, not a promise. Market prices, map quality, player speed, and the cost of each run all matter. Still, a properly prepared character can make excellent money because nearly every Breach contributes something worth selling. The strategy feels busy, too. You're constantly moving, killing, and opening space instead of wandering through empty corridors or waiting for a rare drop to rescue a weak session.
Why Hiveblood Changes the Breach Loop
The basic idea isn't complicated: create a large encounter, keep it open, and kill as many enemies as your build can handle. Hiveblood and Lavish Womb Gifts push that loop by making dense Breaches more rewarding, so clear speed has a direct effect on revenue. If you kill only the first few packs, the setup won't look special. If you follow the expanding edge, remove entire waves, and avoid getting stuck on terrain, the difference becomes obvious. Catalysts are a major part of the return because they're useful to crafters and usually easier to sell than random rare equipment. Splinters and premium crafting drops add another layer of value. Don't judge the method after two maps, though. Breach loot can swing from run to run. Track at least twenty maps, subtract the price of Waystones and encounter investment, then compare the net return with the time spent.
Build the Atlas Around What You Can Clear
Players often copy an expensive Atlas setup before checking whether their character can actually use it. That's backwards. Start with Breach frequency, encounter duration, pack size, and reward quantity, then test how much pressure your build can survive. More monsters aren't profitable if they force repeated deaths or remain alive when the Breach closes. Map modifiers should follow the same rule. Item quantity and pack size are valuable, but nasty combinations can turn a three-minute run into an eight-minute slog. Reroll anything that heavily disrupts your damage, recovery, or movement. Breach Tablets and other supporting investments should also be priced against realistic returns, not a streamer's highlight reel. Once your clear is comfortable, add more density in stages. This approach may look less ambitious at first, yet it usually produces better profit because failed maps and lost experience quietly eat into an otherwise strong strategy.
Map Choice and Moment-to-Moment Play
Wide, uncomplicated layouts are the natural home for this farm. A Breach that opens beside a wall, doorway, or narrow bridge loses part of its potential area, and that means fewer monsters. Choose maps with open ground, short routes, and little backtracking. When the encounter starts, don't stand in the centre waiting for packs to walk over. Move with the expanding boundary and clear ahead of it. Your build needs broad damage coverage, quick movement, dependable recovery, and enough defence to keep attacking when the screen gets crowded. Boss damage matters less unless your route includes other content. Looting deserves discipline as well. A strict filter should show Catalysts, meaningful currency, valuable Splinters, strong bases, and genuinely useful rares. Leave the cheap clutter behind. Picking up six low-value items can take longer than killing another full pack, and those tiny delays become costly across an hour.
Turning Drops Into Real Profit
A stash full of items isn't the same thing as earned currency. Price Catalysts in sensible batches, combine Splinters where appropriate, and sell frequently enough that you aren't exposed to a sudden market drop. Bulk buyers may pay slightly less per item, but one quick trade often beats ten interruptions during a mapping session. Keep a simple record of map costs, Tablet costs, notable drops, and total run time. You'll soon notice whether the advertised hourly figure fits your character or whether another difficulty tier gives better net income. It's also worth separating lucky drops from repeatable revenue. A premium unique can make one session look incredible, while Catalysts and common Breach rewards show whether the farm itself is healthy. Reinvest selectively. Better movement, wider area coverage, or stronger recovery often improves earnings more than a small increase in boss damage.
Final Thoughts
Hiveblood Breach farming works because it rewards practical improvements you can feel on every map. A cleaner route creates more encounters per hour. Better area damage clears more packs. A stricter filter cuts the dead time between fights. Lavish Womb Gifts can strengthen the reward side of the setup, but it won't replace a capable build or a sensible Atlas. Start at an investment level you can sustain, measure the results, and scale only when the numbers support it. Players upgrading socketed gear may also compare farmed returns with the market cost to buy POE 2 Jeweller's Orb before deciding what to keep or trade. The 100-Divine benchmark is possible only under favourable conditions, including strong prices and near-perfect execution. Even below that headline figure, the method remains appealing because its regular drops provide steady value rather than forcing you to wait for a single miracle item.